Build your own solar battery charger
First we need an old window, I got mine from a construction site. Its your basic old nasty basement window. Make sure you wash both sides of the glass well with soap and water and window cleaner, more dust means less light gets through to your solar cells.
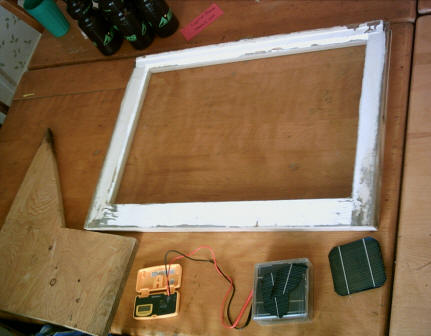
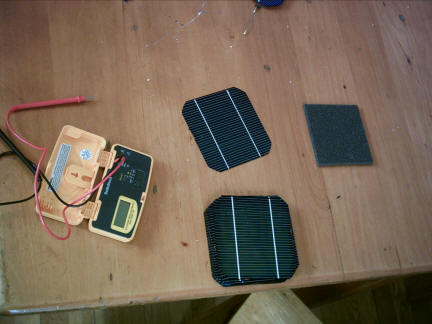
Next take your multi-meter and sit in a sunny spot (or under a flood lamp) and check all your cells to make sure they get about .5 volts per cell. You do this by gently (cells are REALLY fragile) putting the red on the front (make sure its on the little metal lines) and black on the back (any place) of each cell while it is in the sun. It should say about .5 volts. If you get a really bad one don't use it as it will lower the power of your charger.
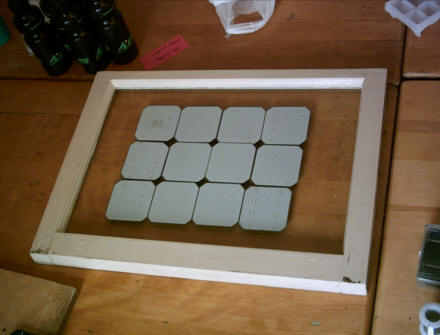
For this project I used 12 cells but you really only need 6. So if you are on a budget use 6 but if you want a fast charger use 12. Next lay out all your cells on your window to make sure everything is going to fit. I used the "deeper" side of the window so that there would be more room for a backing and also because the other side has a shallower well that would cast less of a shadow on my cells if the sun moved while I had my panel laying out.
As you can see they all fit with a lot of room left over, if I wanted to I could have used this window for a larger project but I only need a battery charger for right now.
Next we get down to the fun part, soldering. For anyone who hasn't done this before its pretty easy once you get a little practice. Just make sure you open the window and let some air in because it can get a little fume filled. So first a little bit about solar cells.
Solar cells are always .5 volts, no matter how large or small they are, they always pump out half a volt. The size only determines how many amps you get out of a cell.
There are two ways to wire power supplies (like batteries or solar cells) together. You can wire them in series or in parallel. If you wire them in series you "add" the volts. If you wire them in parallel you "add" the amps.
To wire in series you wire the positive wire from one power source into the negative wire or the other. To wire in parallel you wire the positive to the positive and the negative to the negative.
So this might seem confusing but really its pretty easy. Most rechargeable batteries are 1.2 - 1.4 volts. To charge the battery you need to pump more into it than is coming out. I want to charge two batteries at a time(1.2 X 2 = 2.4 volts), so a 3 volt array is what we need.
On a solar cell the positive side is the "front" (the blue, black, shiney side) and the negative side is the "back" (the not blue, black, shiney side).
So lets make one 3 volt array. To do this we need 6 cells. (.5 X 6 = 3). Remember solar cells are REALLY easy to break. So handle with care. First pick three cells and wire them like this, back to front, back to font. As you can see the bottom cell has two pieces of wire soldered from its back to the next ones front and so does the second one.
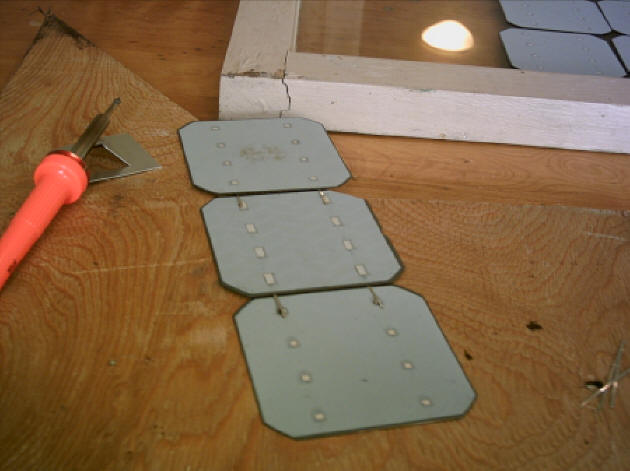
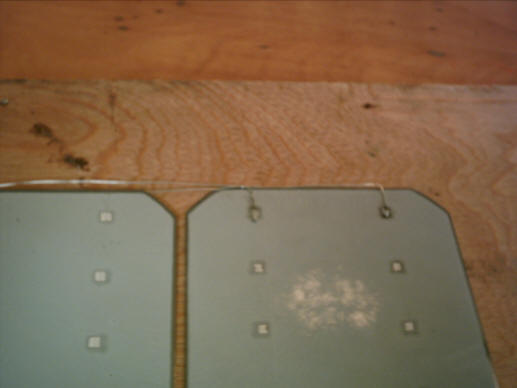
Here you see a close up of the cell with two wires attached to the front, I am using a special kind of "flat" wire, but you can use the round kind as I will show you later.
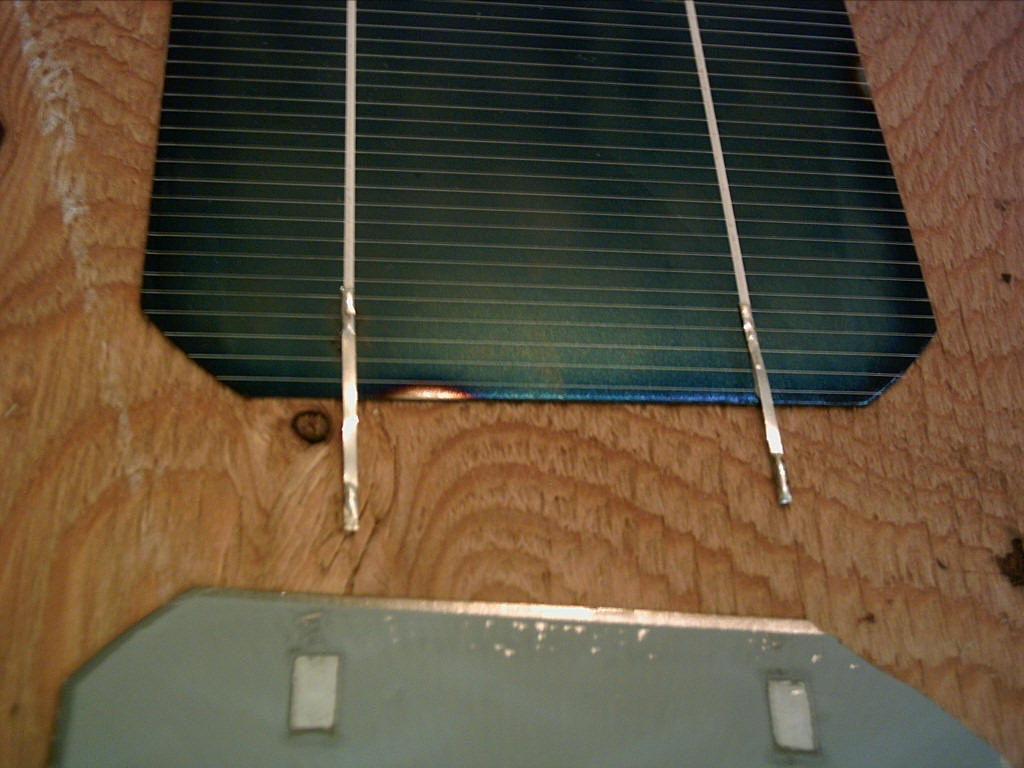
Its pretty easy to solder things to a solar cell, they will not melt. So what you do is put your wire down, touch your hot iron to it and then touch the solder to it and pull your iron off. You will get the hang of it after the first couple.
Make sure you solder to the wire lines that are already on your cell, These lines are put there to allow the electrons from the panel to flow into your load. If you do not get a good attachment to them your charger will not work. After you solder three of them together going "back to front" you have to do a second set. This time you need to go from "front to back" because these three will connect to your first three. This is the "back" side of the cells.
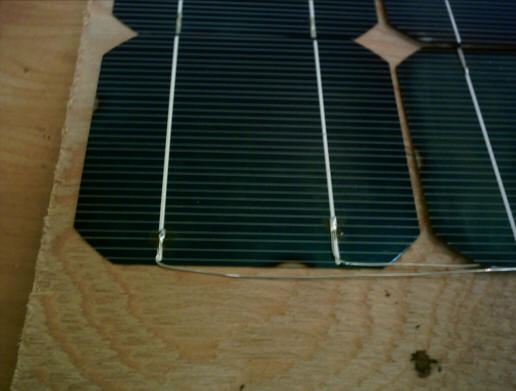
As you can see the second set of three (at the top) are done "front to back". If you look at this picture you can see that if we laid all six of these cells out in a row it would be very easy to connect all of them in series, negative to positive over and over. But our window is not big enough to hold all of them in a long line, and it would be harder to get sun to shine on something that long without shadow, so we are going to put them into a stacked pattern. Right now what we have is two, 1.5 volt arrays, but we want one, 3 volt array. so we need to connect the "front" or one array to the "back" of the other.
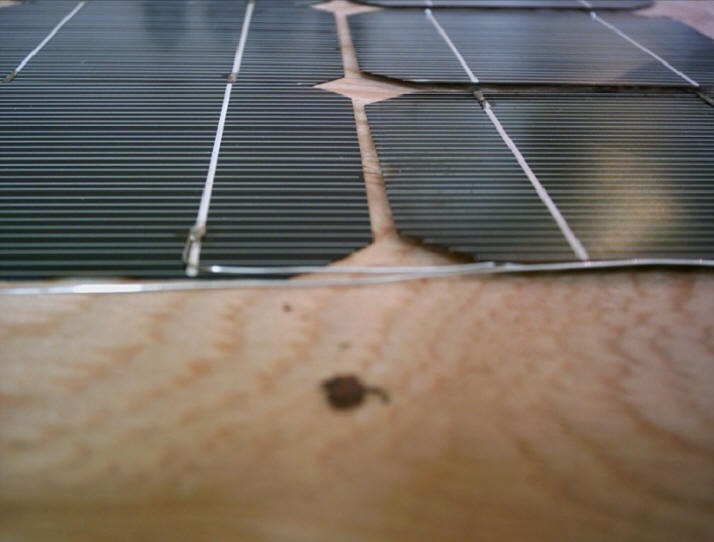
We do this with some wire, here you can see how I attached the "front" of the array on the left to the "back" of the array on the right.
A better view of the "front" wires.
A better view of the "back" wires.
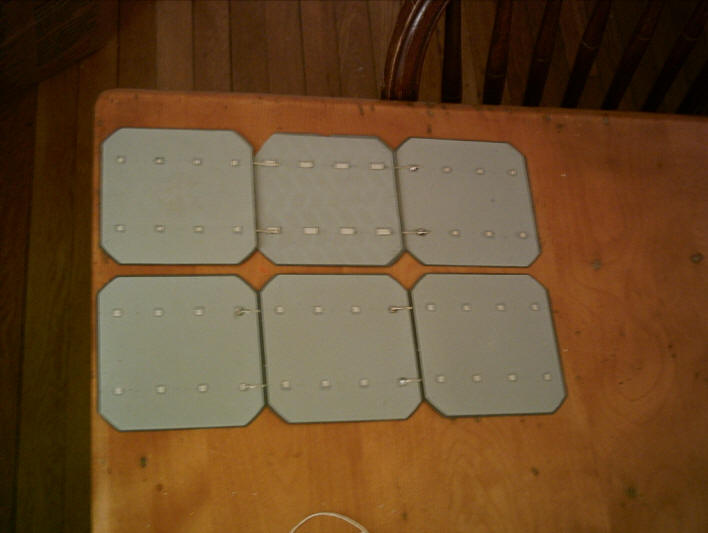
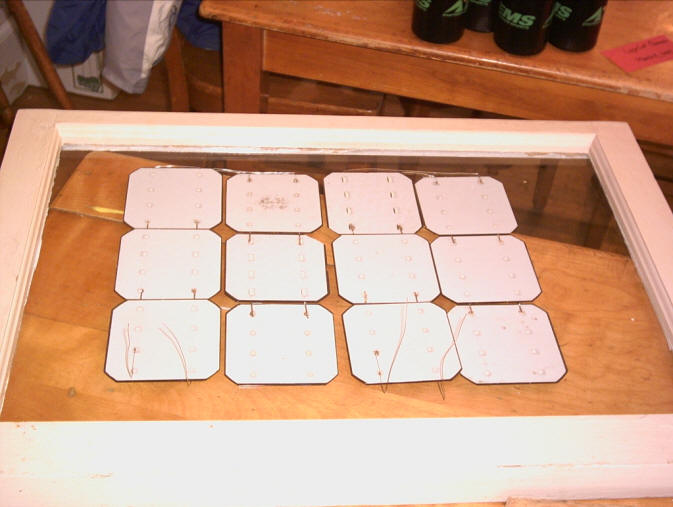
When you are done you basically have a 3 volt array, it will charge your batteries just fine. But if you want more amps (faster charge) you need another 3 volt array. So get another six cells and do all this over again. When you are done you should have two 3 volt arrays like this.
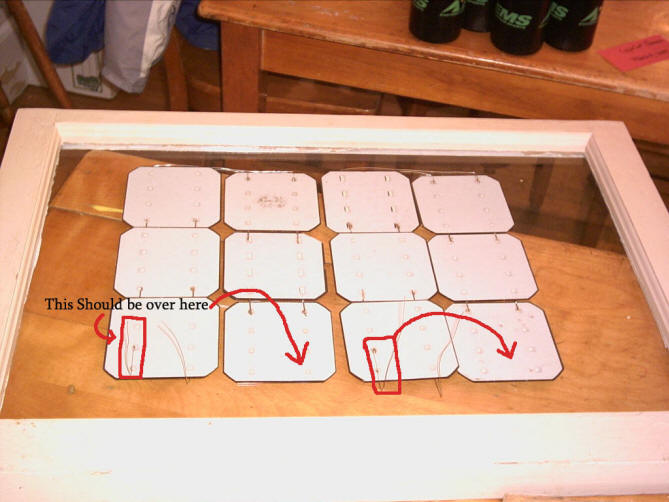
Notice the four leads I have soldered on to the back, I made a mistake here (top points if you can spot it) What I did wrong was I put the leads correct for the front, but what I failed to remember was that like a battery you cant put both leads on one side. you need to put the positive on one side and the negative on the other.
So after a bit of solder removal and redoing Its all ready to go. So what you have now is two 3 volt arrays that have a positive (front) and negative (back) wire coming off of them. To wire them in parallel (and thus increase the amps) you simply twist the two positive wires together and the two negative wires together. the two positive wires become one + wire and the two negative wires become one - wire. Attach the + wire to the red lead of your radio shack AA battery holder and the - wire to the black lead from your battery holder and you are done...almost.
Affix the blocking diode to the negative lead that goes to the battery. This will keep current from flowing back out of the battery when a cloud goes over head or the cells are shaded.
Right now our cells work just fine (if we connected them all right) put them in the sun and you should get 3 volts with good amps, but that's just the thing, if we try to pick up our cells they will all fall off and break...DOH! So we need to attach them to the glass some how. I went low tech on this one. Good old duct tape.
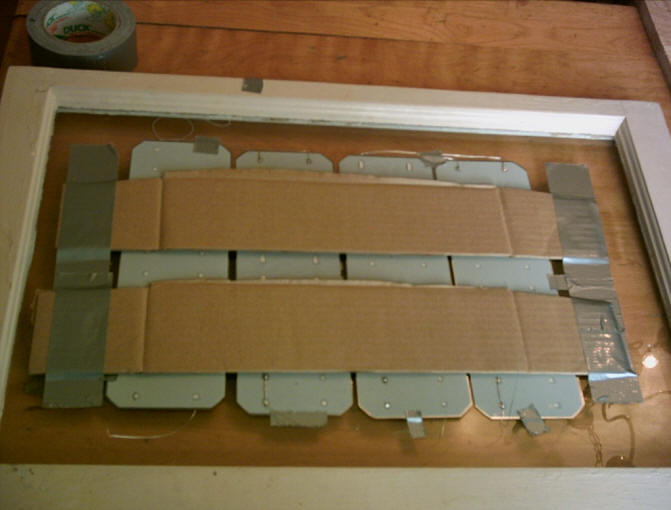
All I did was duct tape each cell and then put some parts from a cardboard box on the back. Feel free to make your backing more weather proof (water + solar cells = bad bad). This charger is going to be put in the back of my car or on a window sill its not meant to be put out in the weather. If you want yours tougher make it so.
If the sun is too bright you are going to want to watch your charger, too much charging and your batteries can be ruined. On bright days its a good idea to only let your batteries charge for an hour, then take them out and check if they are full you can do this with a multi-meter.
Have fun with your freely charged rechargeable batteries.