Build your own solar thermal panel
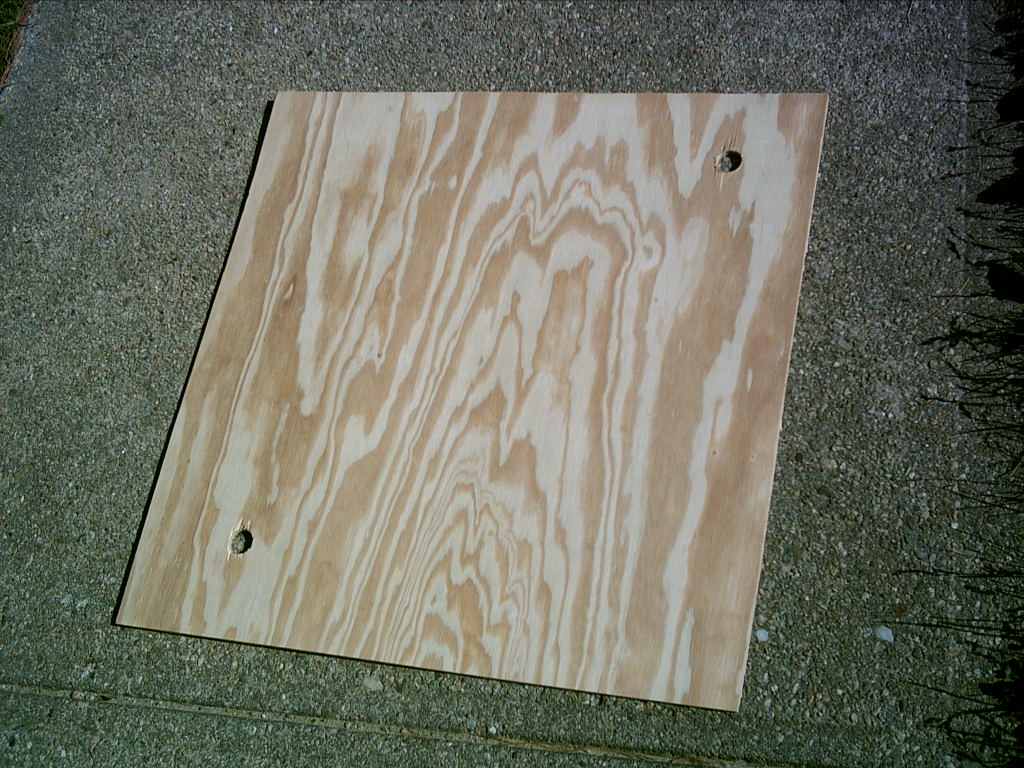
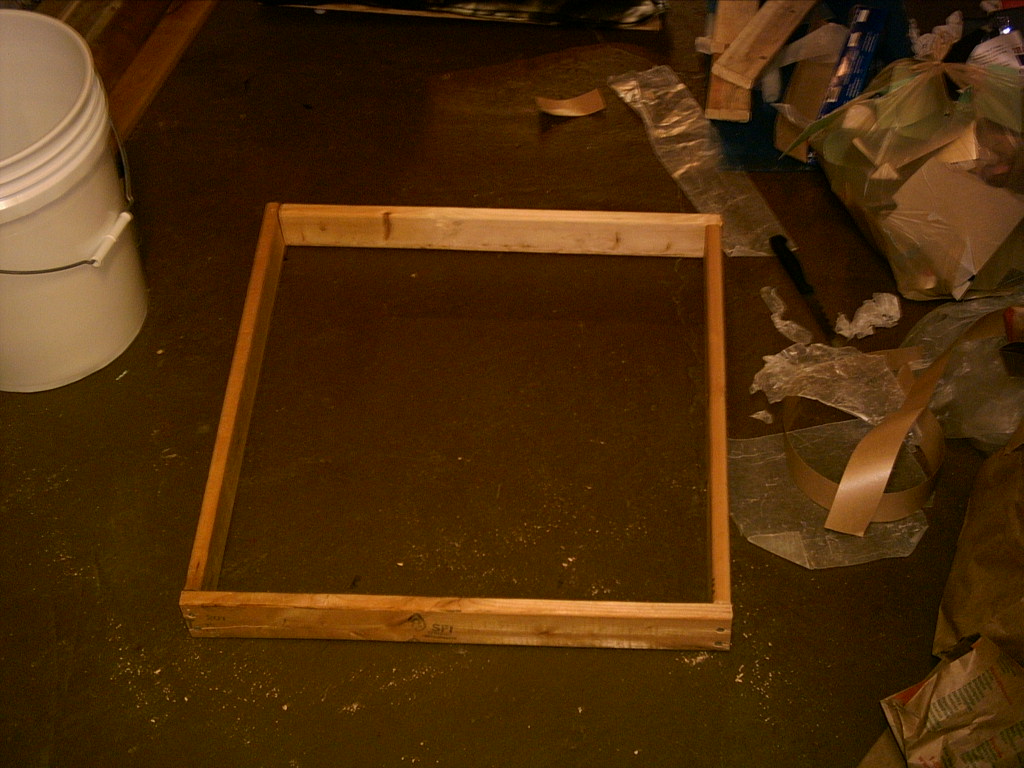
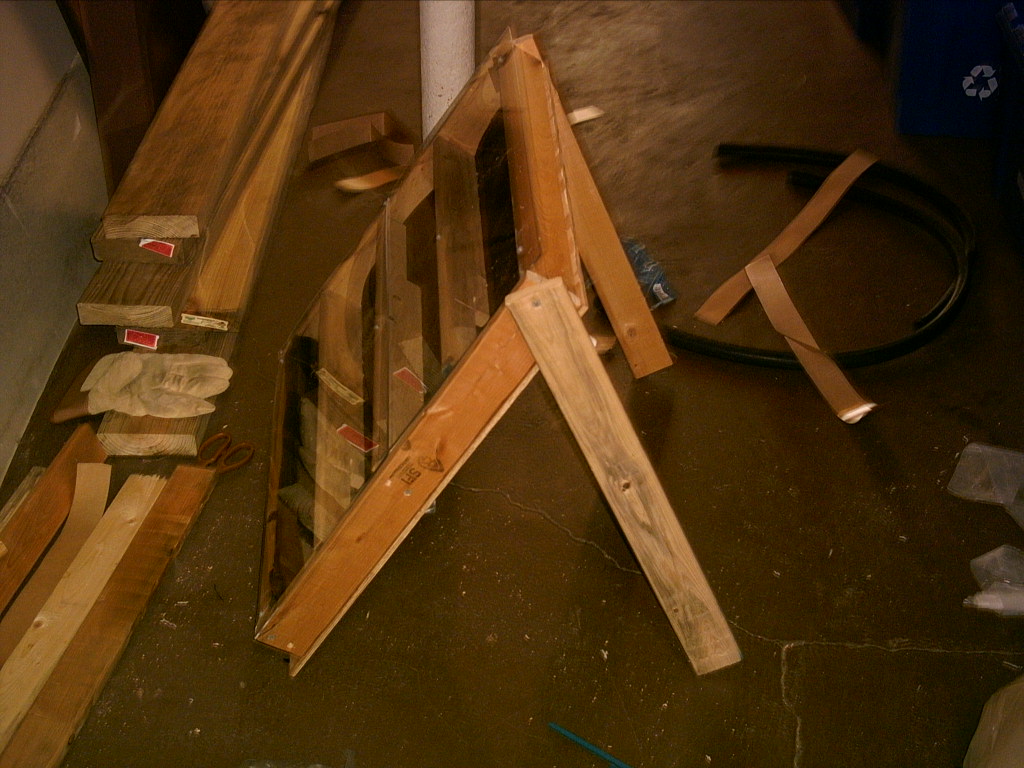
The first thing we should do is cut our backing and our pond liner, when you are done you should have a 2 foot by 2 foot square of wood (1/4 inch thick) and two 2X2 foot pond liner squares, drill two 3/4" holes in the wood as shown. Cut the outside slats as well.
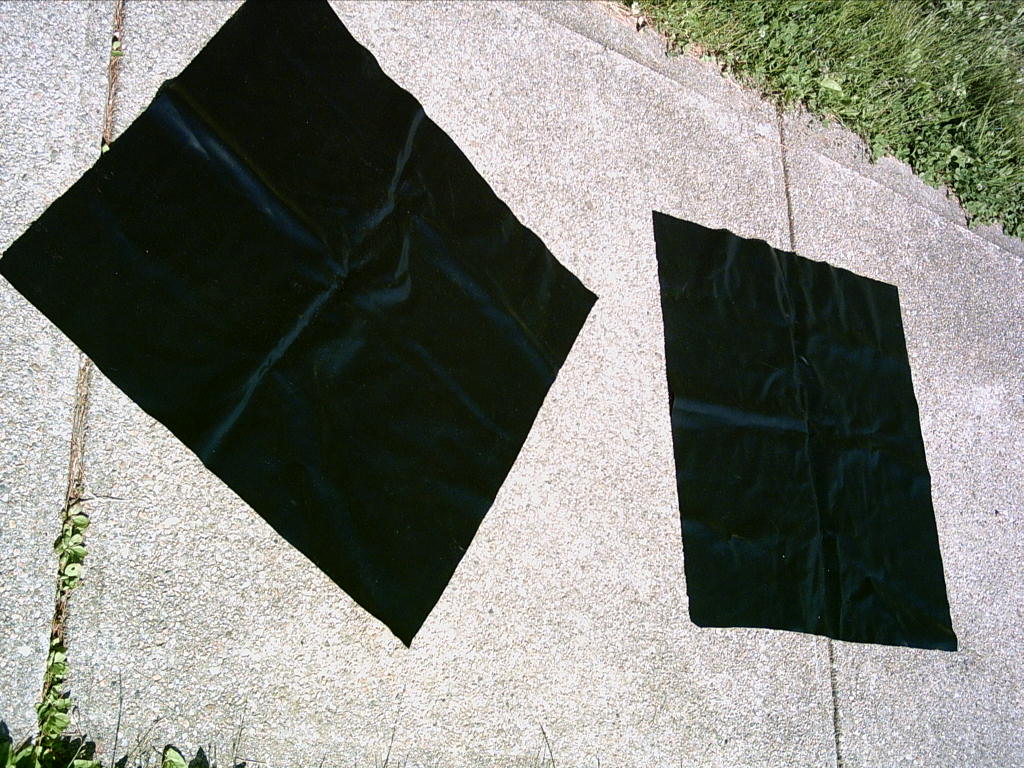
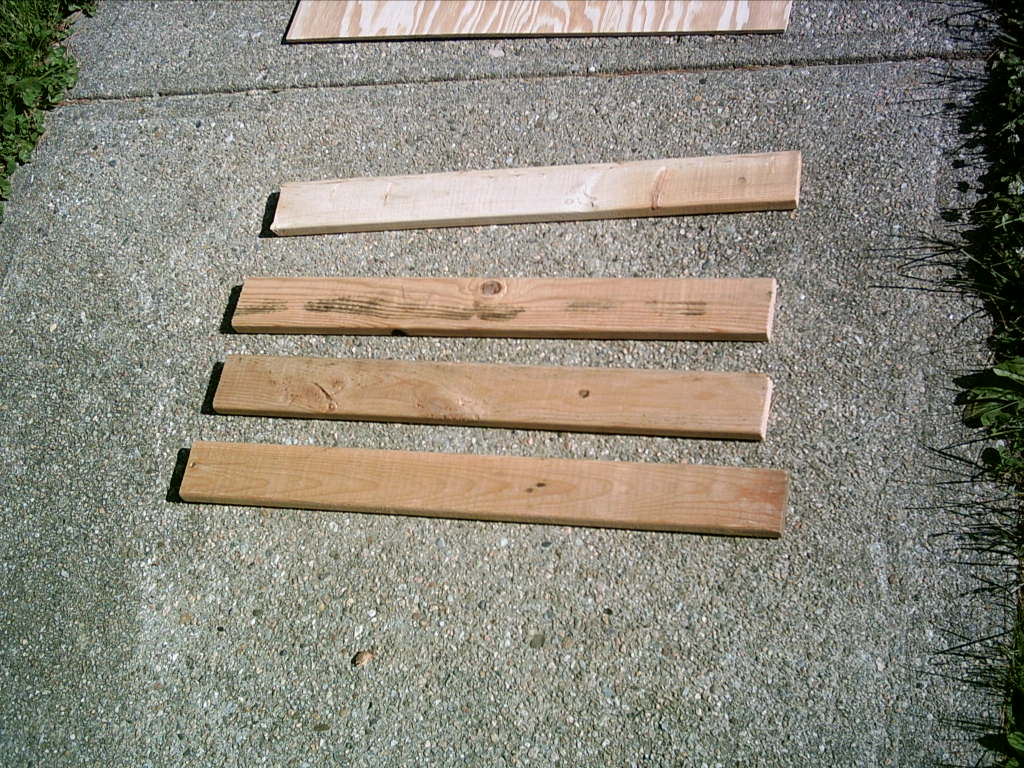
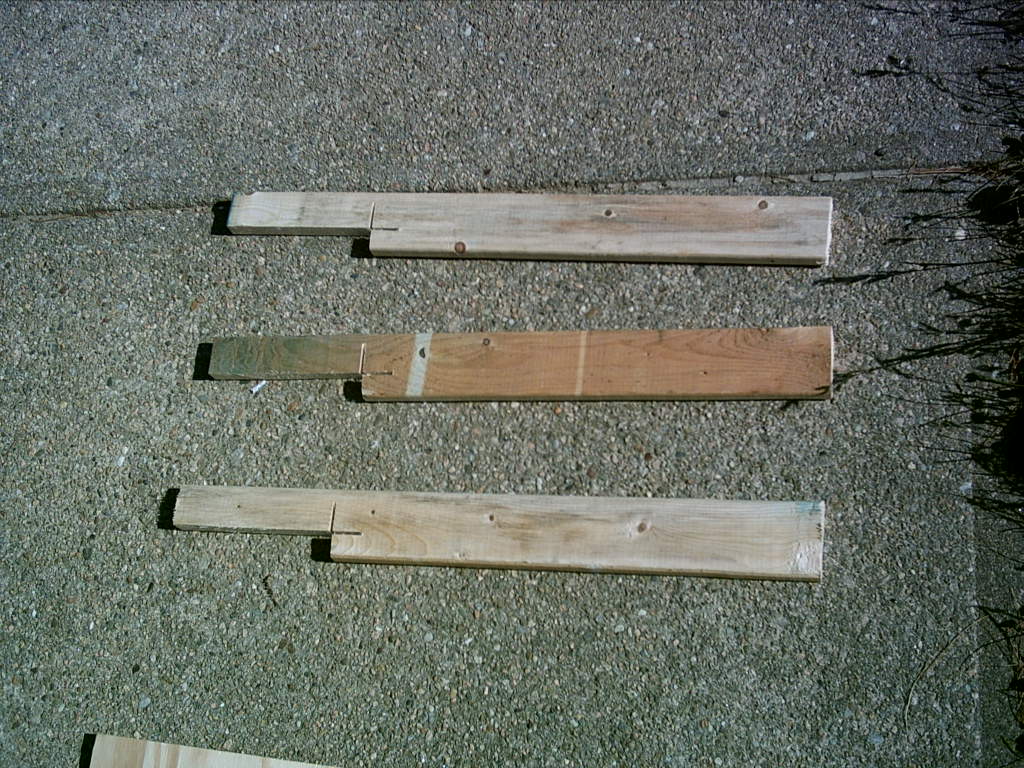
As you can see the black pond lining sucks up all the light, making it look like some sort of black void in pictures, this is good because most of that sun goes towards heating your water. Next cut three of your 20 inch base board planks with a little notch in the end as shown, it doesn't matter how big you make your notch but try not to make it bigger than one third the length of the board.
These guys will be used on the inside of the panel to direct the water in a wandering pattern, we want it to go back and forth so that it will collect lots of the sun's heat. Lets get down to building. First we have to pass our thru-hulls through the back of one of the layers of pond liner. To do this cut a tiny X where you want the holes to be and press them through. Then coat the area around them with caulk or silicon gel and let it harden.
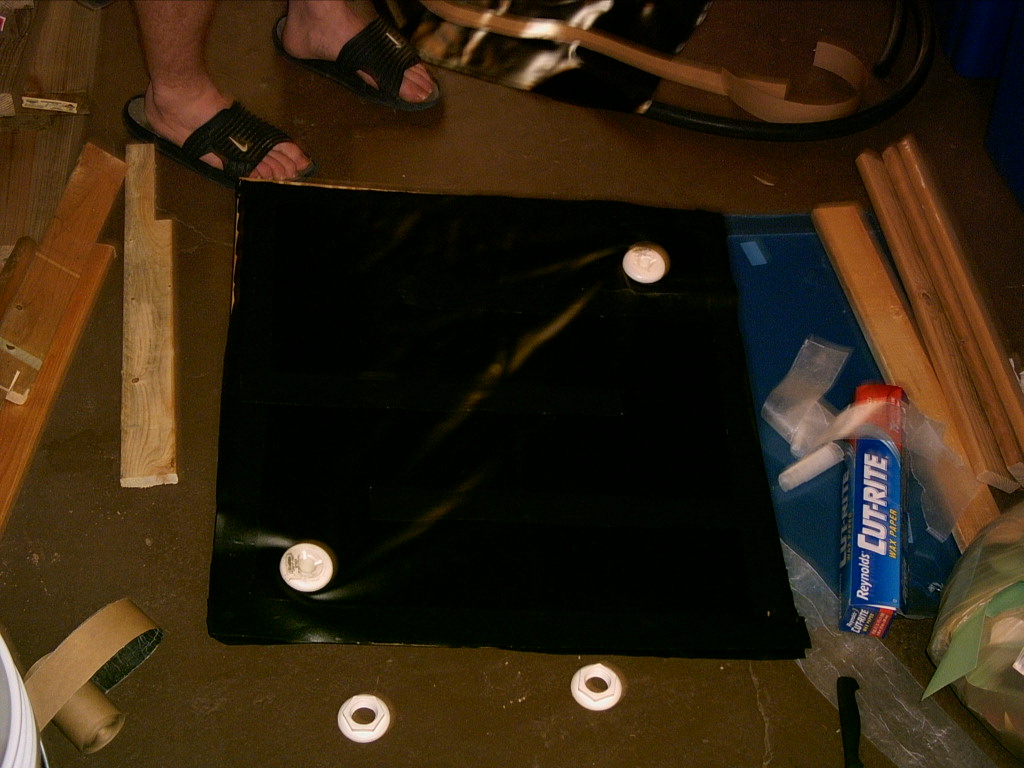
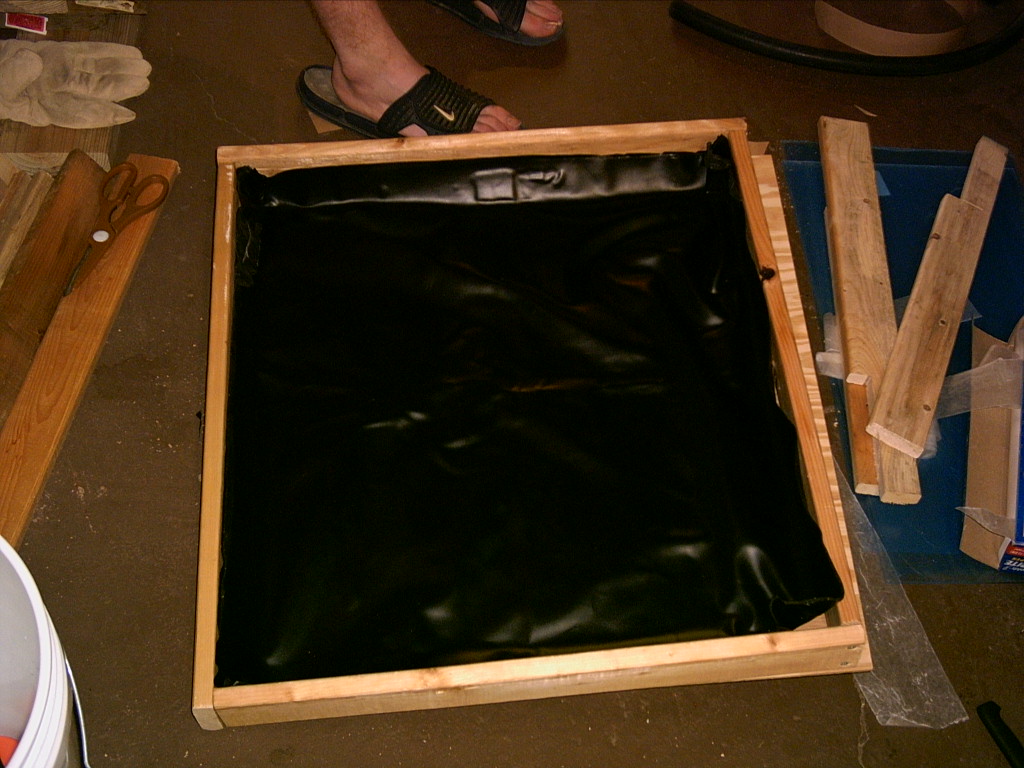
It may be hard to see in this picture but the two thru-hulls are put in the upper right and lower left corner. They then fit into the wood backing (into the holes you made before, better make sure you line them up well or your backing will bunch up).
Next you have to take the pond liner tape and cut it in half the long way.
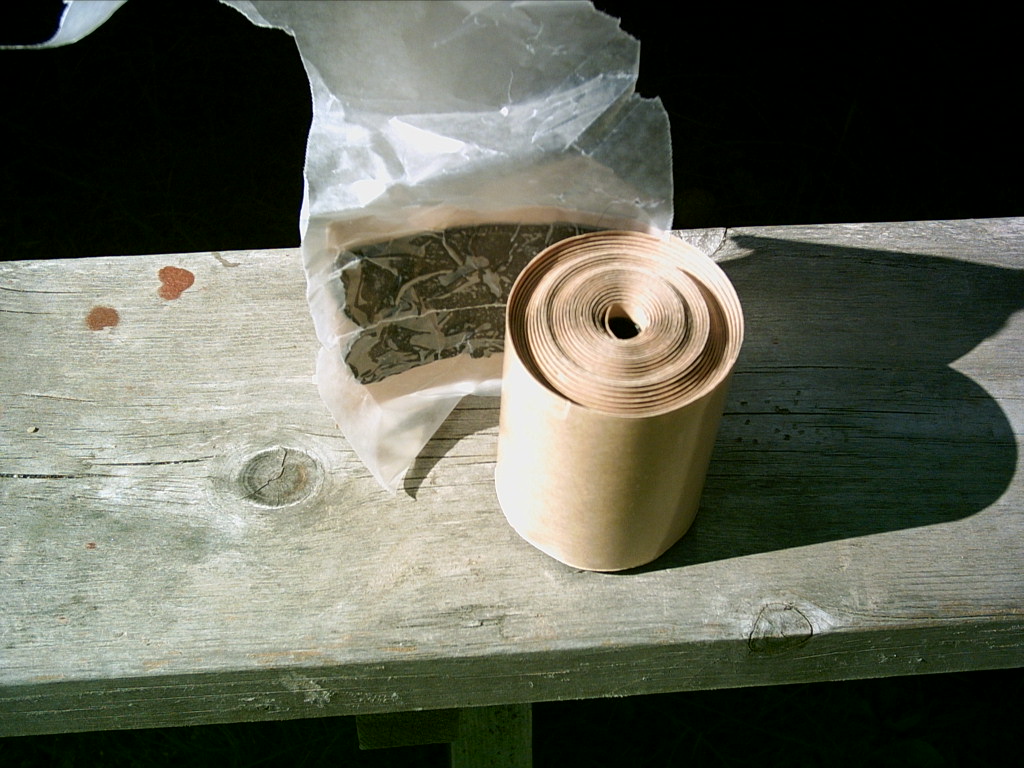
This would be super easy if pond liner tape wasn't so damn
sticky. To get around this unroll one side of the tape and then put a strip of wax paper on the exposed sticky side, you can then cut
the stuff without getting it all gummed up in the scissors. The reason we have to cut it is because pond liner tape comes in 4 inch
thick rolls (at least it did at the place I got it) and we want a two inch strip so that we can make more room for the water to pass
through. Make a line of the sticky tape all around the outside (you will have to peel the wax paper off to get it to stick but leave the
backing on the other side, because anything that touches it will stick) Then make a little path for the water to travel through by adding strips on alternating sides. When you are done remove all the backing and CAREFULLY place the other layer on.

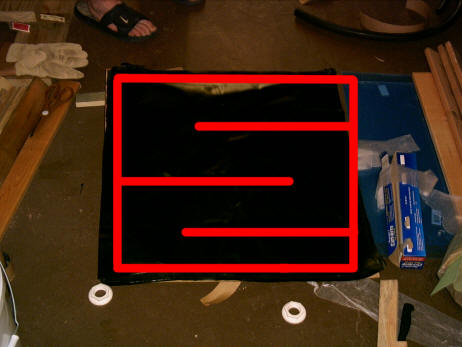
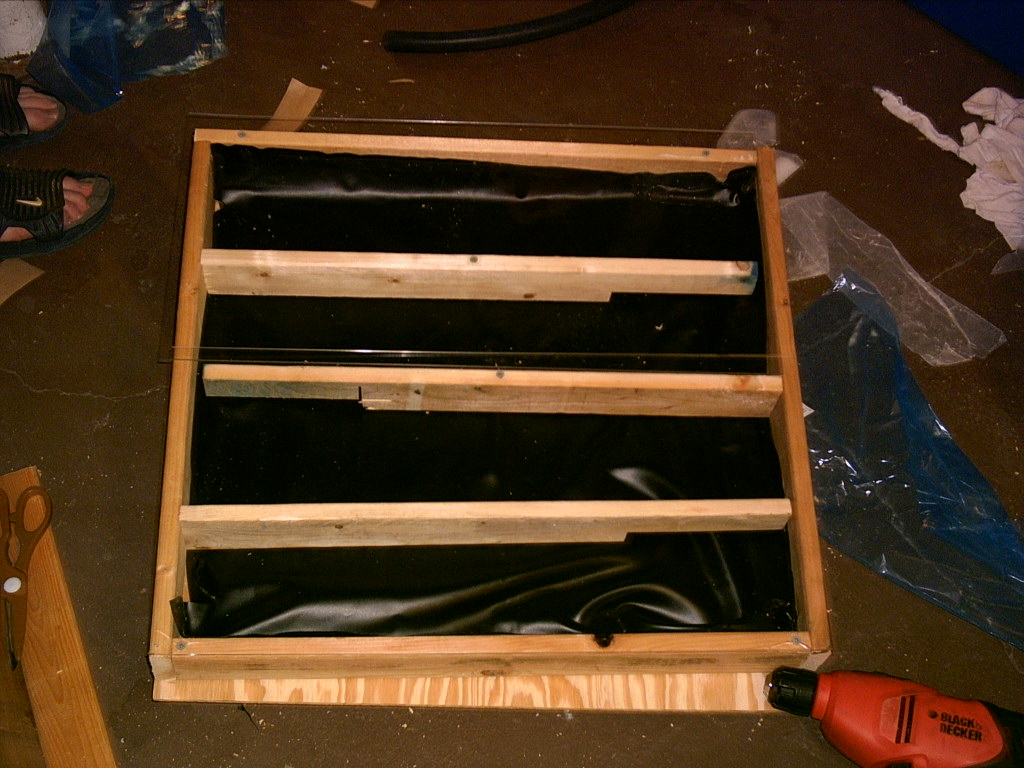
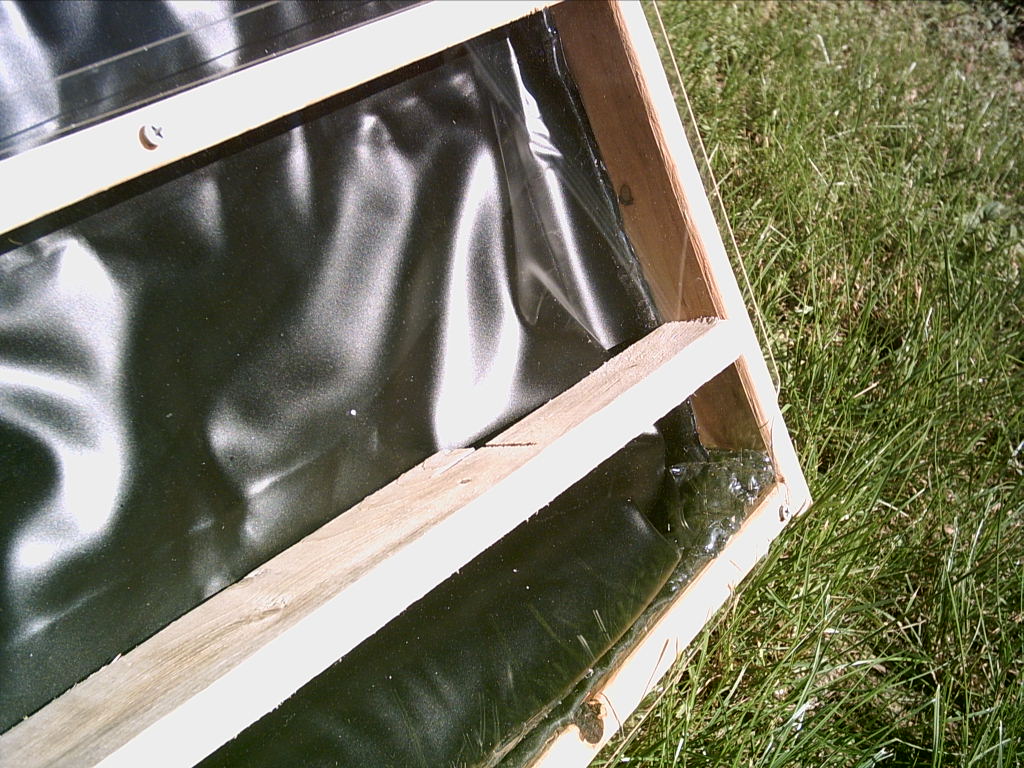
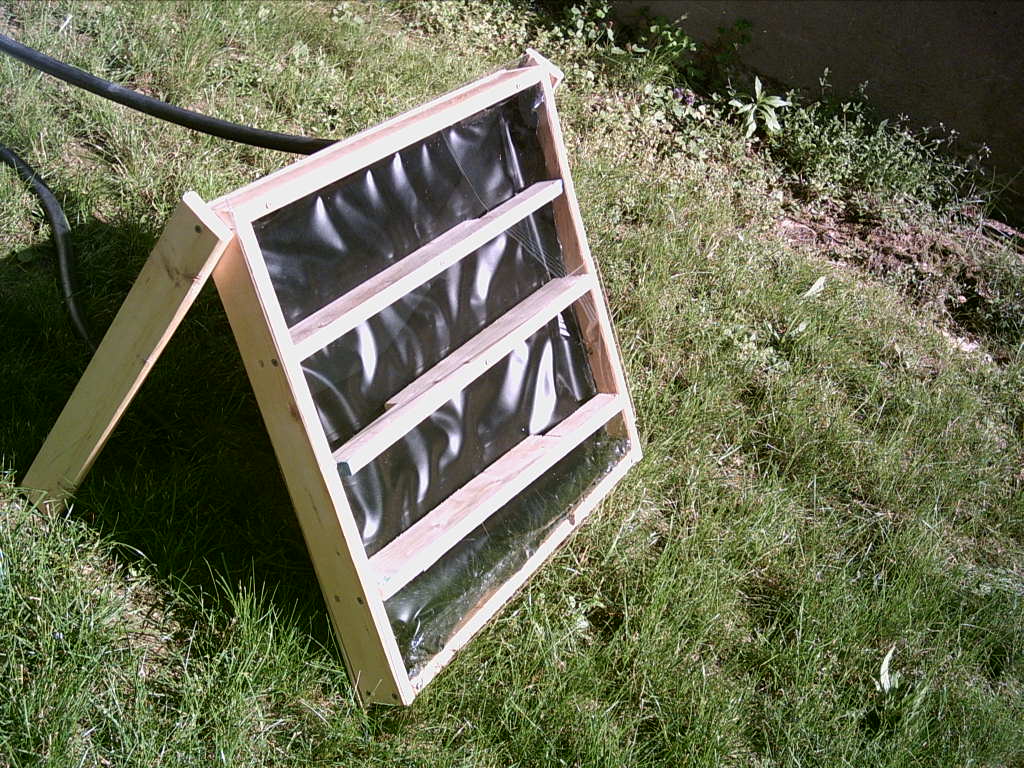
You can no longer see the tops of the thru-hulls because I have taped the top layer on. Its just this stuff sucks up light so much its hard to get a good picture. The picture to the right shows where the tape is inside. Next we need to make the outside edge of the box, do this by screwing four of the 20 inch planks together. Then place it around the lining it should fit snugly, its ok if the lining goes up the side a bit. When done screw the little washers (seen at the bottom of the above pics) onto the thru-hulls.
Next we take the slats we cut notches out of and screw them onto the sides (place them over the tape lines you made in the middle, be sure when screwing them in that you don't puncture the lining. In fact its not such a bad idea to put a bead of silicon goop around the edge and let it set up before going any farther.
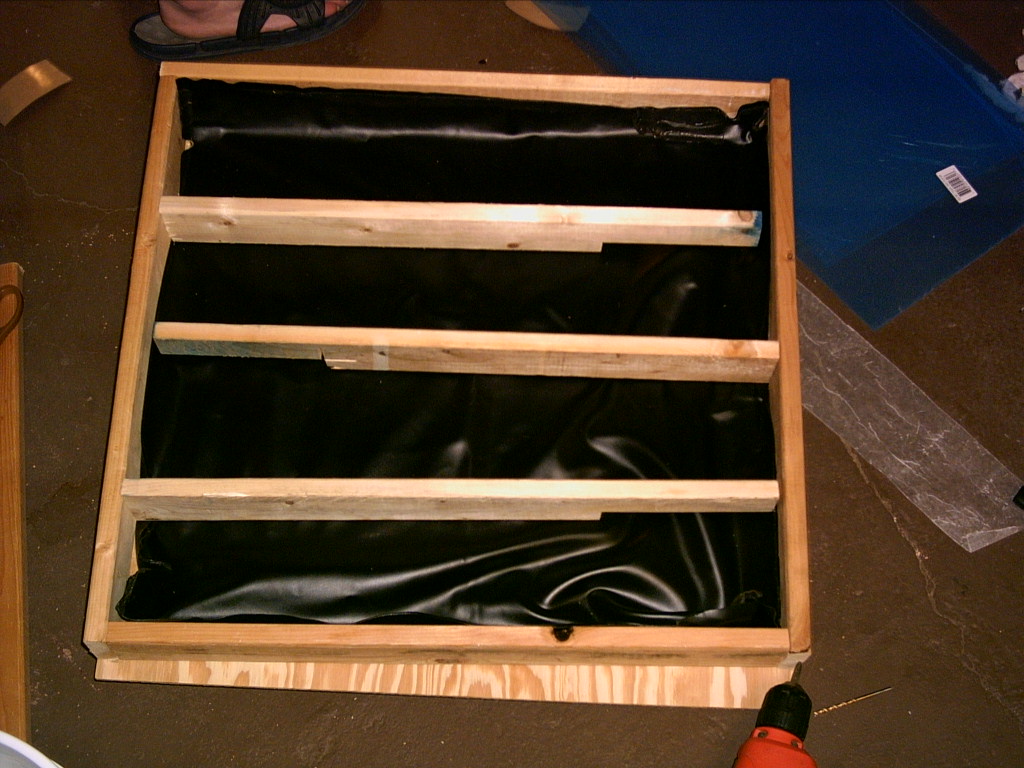
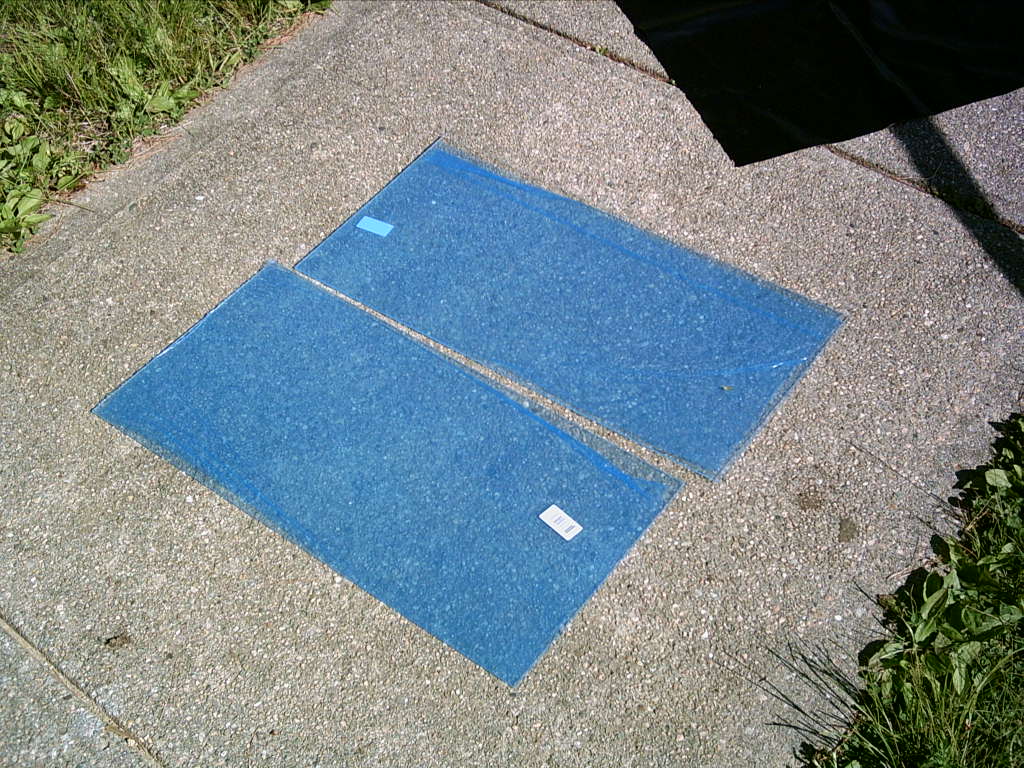
As you can see the slats mach up with the lines of tape you made, next take the protective coating (its usually blue) off of the Plexiglas sheets and then pre-drill holes into it so that it will not shatter when you screw it down, also pre-drill holes into the wood base making sure not to puncture the pond liner, then screw the sheets on, don't screw down too much or you will shatter the plastic.
Its almost impossible to see the Plexiglas on the right but trust me its there! Now we have to connect the hoses to the bucket and the back of the panel. Lastly take two 20 inch wood pieces and add "legs" with a single screw at the top of your panel (one thru-hull should be up and one down)
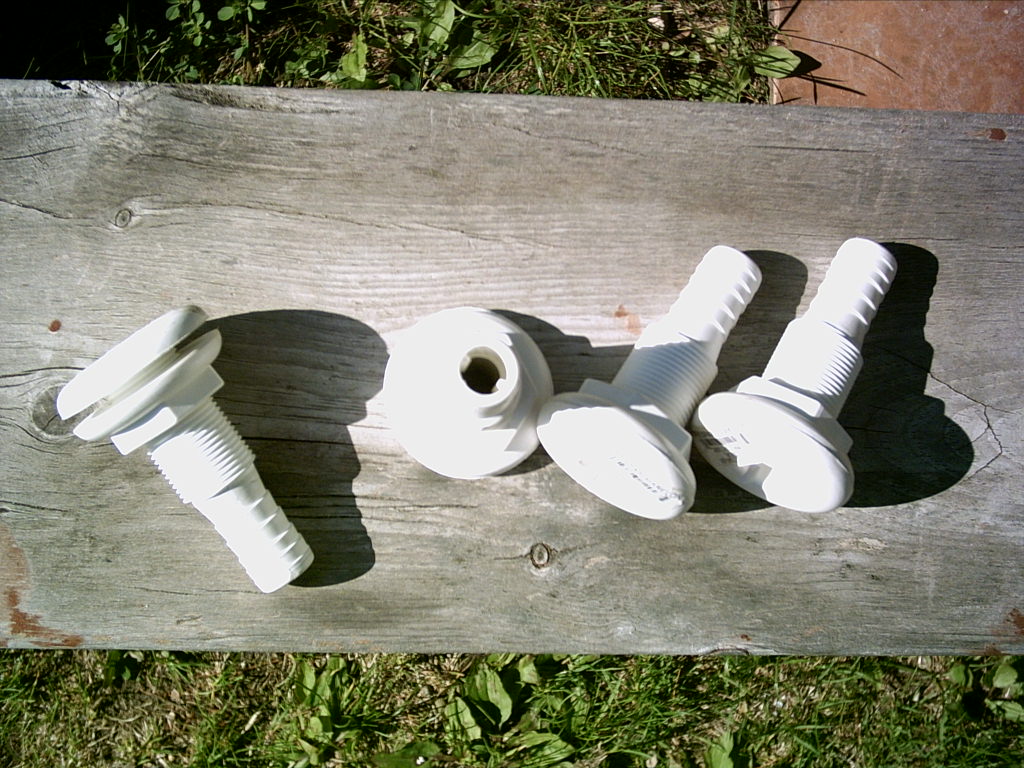
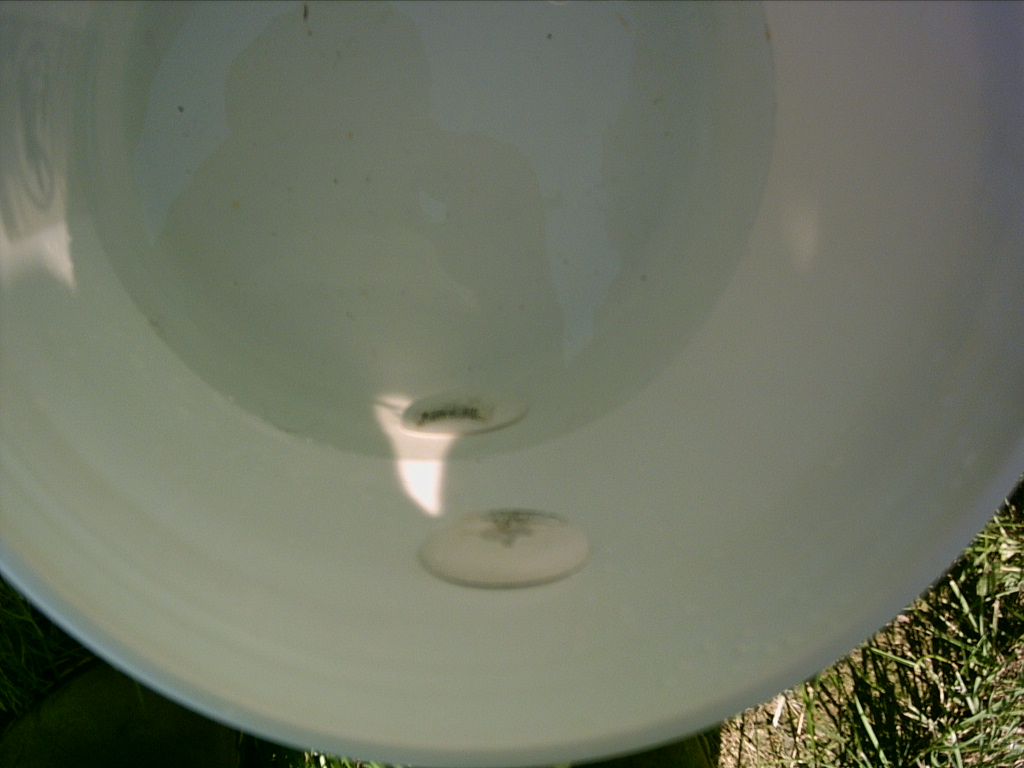
First drill two 3/4" holes into the five gallon bucket. Then pass the thru-hulls through them with the bong end facing out.

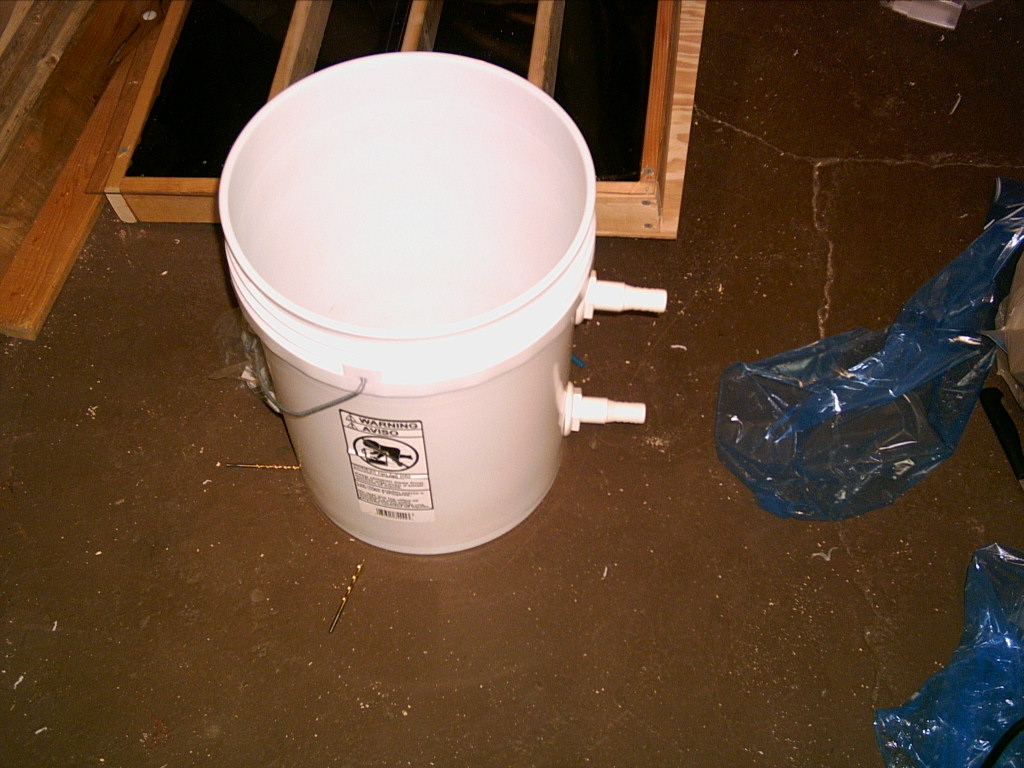
Put the washers on good and tight as this keeps the water in the bucket. A bit of silicon can't hurt either. Next attach the longer hose to the bottom bung and the shorter hose to the top one, use the marine clamps to keep them on nice and tight.
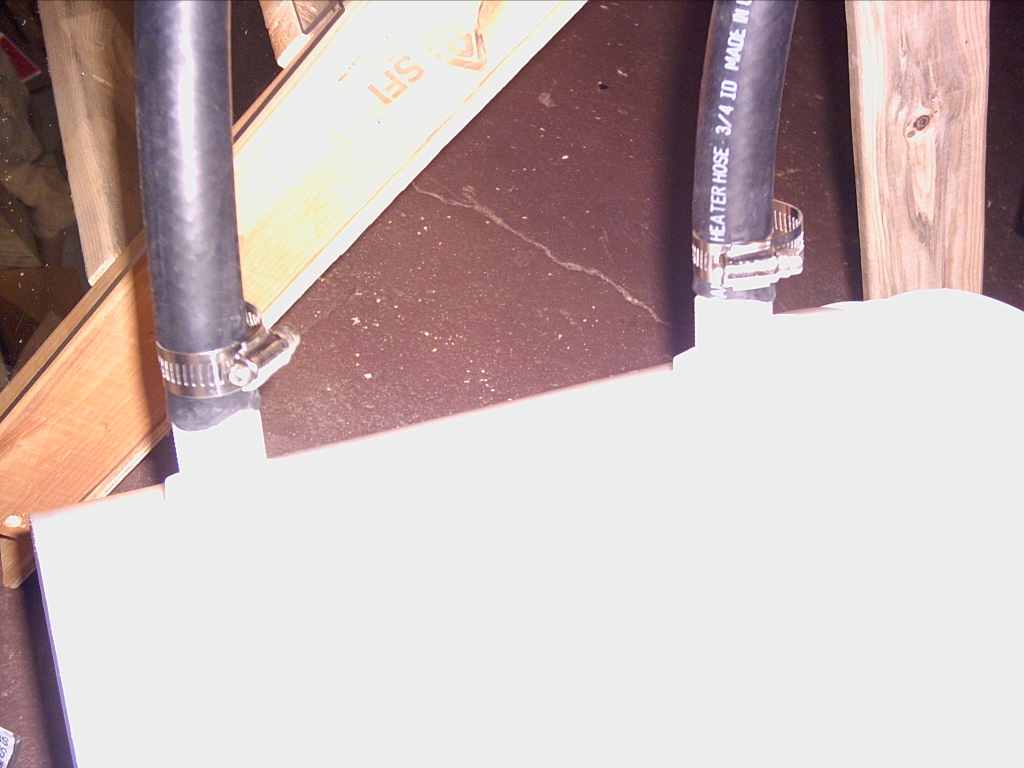
Do the same with the panel (short hose on the top, long on the bottom) and clamp them down well. Now its time to go outside and test it. Take your panel to a nice sunny place and set it up so that it is on level ground. Now fill the bucket up with water enough to cover the bottom hole about two inches above the hole.
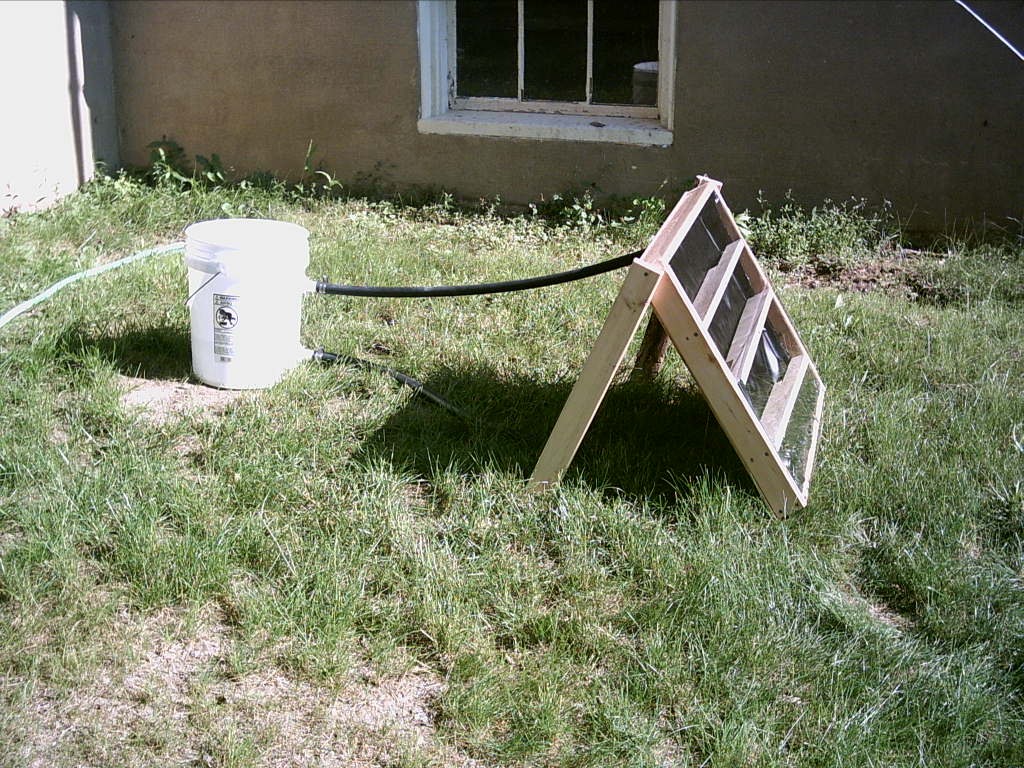
Face your panel into the sun with the legs and wait.
The way it works is this, the water from the bucket flows down the long hose, into the panel, then heats up from the sun. Hot stuff goes up, water is no different. It's called thermo siphoning. The water in the panel heats up and moves up the little path you have made for it, in the process it gets very warm, so be careful, then it pours into the bucket and starts its journey all over, in this way you could make a LOT of hot water if you put the hot water outlet into something else and kept putting cold water in the bucket. If you leave it in the sun it will start to thermo siphon pretty fast as the water gets warmer and warmer. It takes about 4 hours of sun to get going really good, on a sunny day you can heat up a bucket to over a hundred degrees easy, so be careful you don't burn yourself.
Enjoy the hot water.
Edit: Check out the new solar thermal panel two, it works better and costs less!